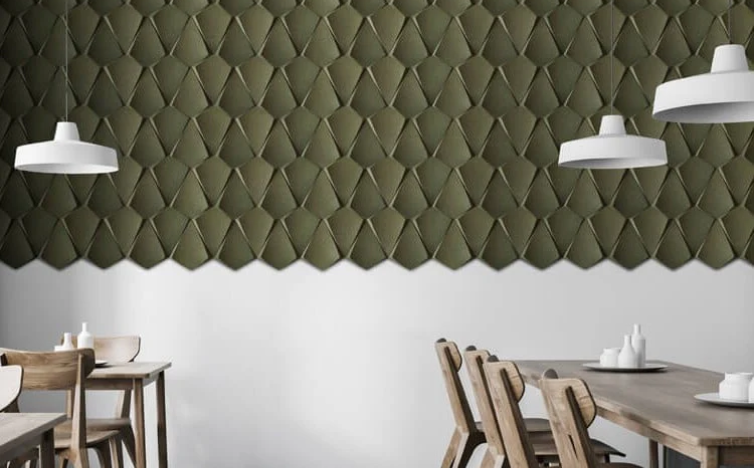
Acoustic cork panels are an excellent choice for enhancing soundproofing and reducing noise in various spaces. They are eco-friendly, stylish, and effective at improving acoustics. In this guide, we’ll walk you through the step-by-step process of installing acoustic cork panels to your walls or ceilings.
1. Gather Necessary Tools and Materials
Before starting, ensure you have the following items:
- Acoustic cork panels
- Measuring tape
- Pencil and ruler
- Utility knife or saw
- Adhesive (construction glue or cork-specific adhesive)
- Level
- Sandpaper
- Clean cloth or sponge
Proper preparation ensures a smooth installation process.
2. Prepare the Surface
Clean and Smooth the Area
Start by cleaning the surface where the panels will be applied. Remove dust, grease, or debris to ensure proper adhesion. If the wall is uneven, use sandpaper to smooth it out.
Mark the Layout
Using a pencil and ruler, mark the area where you will apply the panels. This helps in aligning the panels accurately and avoiding mistakes.
3. Cut the Panels to Fit
Measure the dimensions of your wall or ceiling and cut the cork panels accordingly. Use a utility knife or saw for precise cuts. If the panels need to fit around outlets or edges, mark and cut carefully.

4. Apply Adhesive
Choose the Right Adhesive
Select a high-quality adhesive suitable for cork panels. Construction glue or cork-specific adhesives work best.
Apply Adhesive Evenly
Spread the adhesive on the back of the cork panel in a thin, even layer. Ensure you cover all corners for a strong bond.
5. Install the Panels
Press Firmly
Place the panel on the marked area and press firmly. Use a level to ensure it is aligned correctly. Hold it in place for a few seconds to allow the adhesive to bond.
Repeat the Process
Continue applying panels, aligning each one closely to avoid gaps. Wipe away any excess adhesive immediately with a damp cloth.
6. Finishing Touches
Trim Excess Material
Once all panels are installed, trim any overhanging edges using a utility knife.
Clean the Surface
Wipe down the panels with a clean, damp cloth to remove any adhesive residue or dust.
7. Allow Adhesive to Set
Let the adhesive cure as per the manufacturer’s instructions. Avoid touching or moving the panels during this time.
Benefits of Acoustic Cork Panels
Acoustic cork panels not only reduce noise but also provide thermal insulation and add a natural aesthetic to your space. Their eco-friendliness and durability make them a top choice for home and office environments.
Contact Muhammad Shaheen Carpentry at 971 55 219 6236, and discover the transformative science of soundproofing for your space.
By following this guide, you can enjoy a quieter, more comfortable room with beautifully applied cork panels.

